
Real Stone Veneer
Installation
Installing natural thin stone veneer is a multi-step process that requires careful surface preparation, the right materials, and attention to detail. Understanding the basics of installation and the costs involved can help you achieve your desired look and stick to your budget.
Installation Costs
At Quarry Mill, we recommend hiring a professional masonry contractor to install all of our natural stone veneers. Proper installation ensures a professional finish that adds value and timeless beauty to your project.
The average installation cost typically ranges from $15–$30 per square foot. There are a few considerations that affect the cost of installation, including site preparation, location, stone style, and installation style.
Site preparation
The surface and accessibility of your site are factors that will be considered when your masonry contractor is preparing a bid. Your mason may look at:
- Is your project an interior or exterior application?
- If it is a remodeling job, does additional work have to be done to prepare the surface?
- How easily accessible is the area?
- Does the project cover multiple stories, and will scaffolding be required?
Location
The cost of masonry work varies greatly throughout the country. Installation costs are usually reflective of the cost of living in your area.
Stone Style
The style of stone you choose may impact the price of installation. Styles with smaller or irregular stones usually require more time to install. Larger, blocky stones are generally more cost-effective. Find more information about Quarry Mill stone styles on our Style Guide.
Installation Style
The installation style or mortar joint may affect the masonry bids you receive. A drystack (mortarless) joint is generally more expensive than a standard half-inch mortar joint. We’ll review mortar joints in the Grouting section below.
Masonry Contractor
Although the factors above contribute to fluctuations in the cost, installation bids can vary greatly from contractor to contractor. We recommend getting at least three bids on your installation and reviewing the experience/past work of your mason. You can find more information about selecting your masonry contractor, as well as view our nationwide list of masonry contractors.
Preparing the Surface
Natural stone veneer can be applied to any clean, stable, structurally sound wall. The four most common installations are: framed open stud wall, cement board, poured concrete wall, and cement block.
Framed Open Stud Exterior Wall
To apply natural thin stone veneer to an exterior open stud wall, exterior sheathing needs to be attached to the studs. Types of sheathing include: treated plywood, rigid composite board, or flush metal siding. A weather-resistant barrier will need to be applied to the sheathing and then the expanded metal lath. The final step before installing the stone is to apply approximately a half-inch of scratch coat to the wall.
Interior Cement Board
For interior walls or fireplaces, cement board is the easiest and most efficient application. The cement board is attached to the studs, and then the natural stone veneer is applied directly to the cement board. This is the only application of stone veneer where it is acceptable to use a construction adhesive to attach the stone to the wall.
Poured Concrete Wall
There are two options for applying natural stone veneer to poured concrete walls. The first option is to apply and overlap a metal lath with a half-inch scratch coat before applying natural thin stone veneer. The second option is to apply the natural thin stone veneer directly to the wall. When applying thin stone veneer directly to the wall, it is essential the wall is clean. There are different methods for cleaning the concrete, including: hydrochloric acid, scoring the concrete, and sandblasting.
- Hydrochloric acid is used to remove oils and release agents from newly poured concrete walls.
- Scoring the concrete wall is done using a wire brush to clean the surface.
- Sandblasting the concrete wall is done to clean existing surfaces. It is important to check the structural integrity of the wall before sandblasting.
Cement Block
Natural stone veneer can be applied directly to a CMU/Masonry wall without any special preparations. There is no need for a wire mesh or scratch coat on this type of application. The stone can be applied directly to the block with mortar.
Planning and Layout
Before applying mortar, your mason will lay out your stones on the ground to visualize the pattern and ensure an even mix of sizes, colors, and textures. This process, called dry fitting, helps create a natural and balanced look.
At each row of installation, the corner pieces are installed before the flats. Each corner piece has a long and short end. The corner pieces will be installed with alternating patterns. This will help develop the basic outline for the pattern of the flats.
Applying Mortar
Mortar is made of cement and an aggregate. It comes in different strengths and formulas, which have various applications. Mortar is used to fasten natural stone veneer to your project surface and fill in gaps. In the stone industry, the terms mortar and grout are used interchangeably, since mortar is used both to fill gaps and make the stone stick to the surface.
Your mason will remove any dust that may be on the back of the stone from the sawing process with a clean cloth. This will ensure a good bond with the mortar and wall.
Using a trowel, they will spread a ½″ to ¾″ thick layer of mortar onto the back of each stone, also known as back buttering. They may also apply a thin coat to the wall to improve bonding.
Setting the Stones
Starting from the bottom and working upward, your mason will firmly press each stone into place with a slight twisting motion. A level helps ensure the rows are even. They may cut stones as needed using a masonry saw or grinder to fill in edges and ensure the pieces fit snugly. The cutting and trimming process on-site is known as field trimming.
Grouting
When choosing a grouting technique for your natural stone veneer project, consider the type of stone you have chosen and the overall look you want. Some of our natural stone veneers have preferred grouting methods. The four most common grout options or mortar joints are: standard/raked method, drystacked method, flush method, and overgrout method.
Standard/Raked Method
The raked method is achieved by allowing the mortar to dry to a soft texture, sometimes called “thumb-print hard,” where pressing your finger or thumb in the joint leaves a minor impression. This allows you to work the mortar by raking excess mortar from the ¼″ to ½″ gaps between the stones. The act of raking the joints results in a concave groove that adds depth to projects. Modification of the stones is rarely required.
Drystacking Method
The dry stacking method requires the stones to fit together tightly without any visible mortar. Mortar is loaded on the back of the stone, also known as buttering, and pressed in place. This method typically requires a greater waste factor calculation and some field trimming on-site. Drystacking is not recommended for projects exposed to freeze/thaw cycles.
Flush Method
A flush mortar install involves completely filling the gaps between stones with mortar. When the mortar has nearly dried, the excess mortar is removed, and the surface is brushed to create an even texture. The result of the flush method is a thicker, more pronounced mortar line that creates a rustic look.
Overgrout Method
The overgrout method uses extra mortar to not only cover the sides of the stone but also to cover the edges. This gives an old-world look, as this was the type of mortar joint when stone was used structurally.
Cleaning and Sealing
Natural thin stone veneer is incredibly durable and requires minimal maintenance. The only recommended steps are periodic inspection and cleaning, similar to your routine window and exterior checks. Look for rare cracks or signs of damage in the mortar or stone during your inspection. Cleaning can be done with a low setting on a power washer or by using a hand brush. Minor dirt can be rinsed off with a hose. It is imperative not to use any type of acid, muriatic or otherwise, on natural stone.
Protecting natural stone veneer from moisture, sunlight, and stains is accomplished through the application of a stone sealer. Sealants add a protective layer to your stone while making cleanup and maintenance easier. Stone installed outside or stone that will be exposed to moisture, sunlight, or possible stains can be sealed. The sealant layer helps prevent stains from rain, dirt, or spills. It also reduces the effects of the sun.
Water-based sealers are the most popular because they penetrate the stone more easily, are easier to apply, and clean up with soap and water. They are typically applied by brush or sprayer, depending on the surroundings. The surface should be clean, and loose chips should be removed. Be sure to test your sealer on extra pieces or an inconspicuous area and allow it to dry before treating the entire surface. There are two general types of sealers: a dry or natural look sealer that will not impact the appearance of the stone, and a wet sealer that will provide a glossy look.
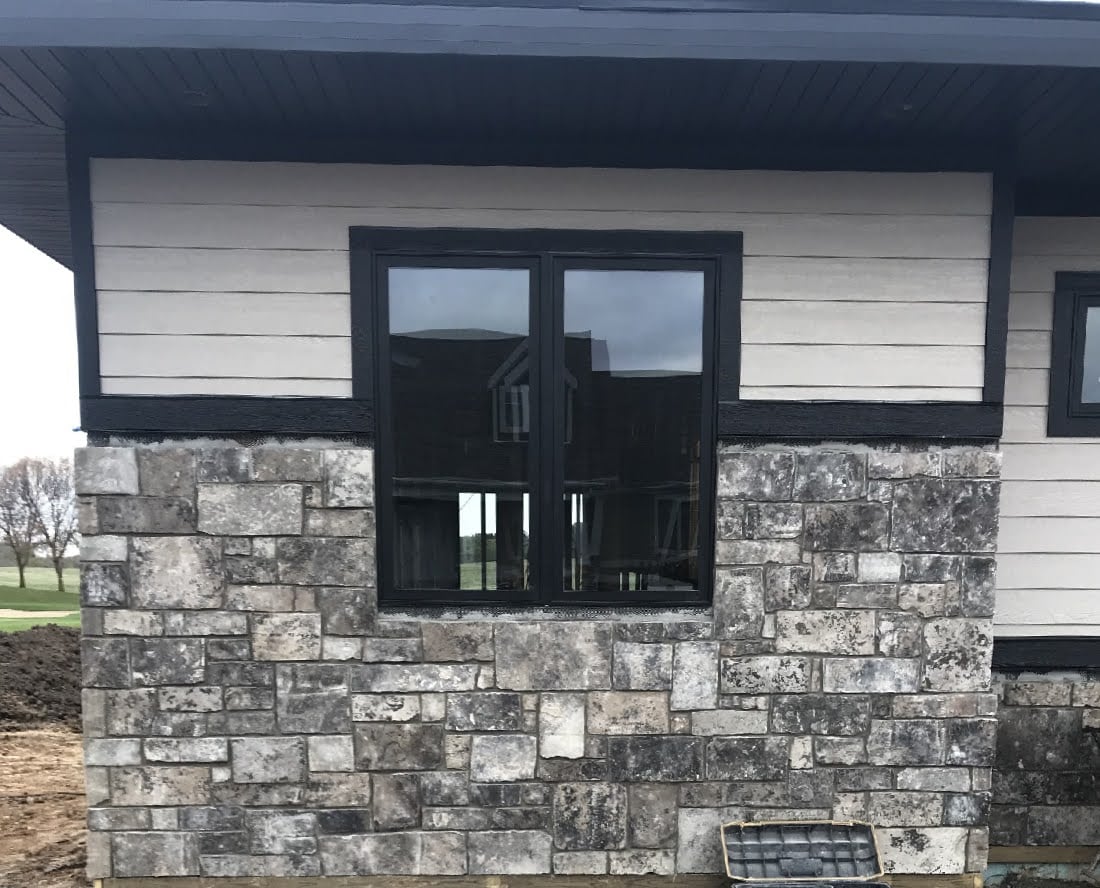
The photos below show our standard Galaxy natural stone veneer with and without a sealer. Drag the slider to compare Natural Galaxy with no sealer against Galaxy with a wet sealer application.
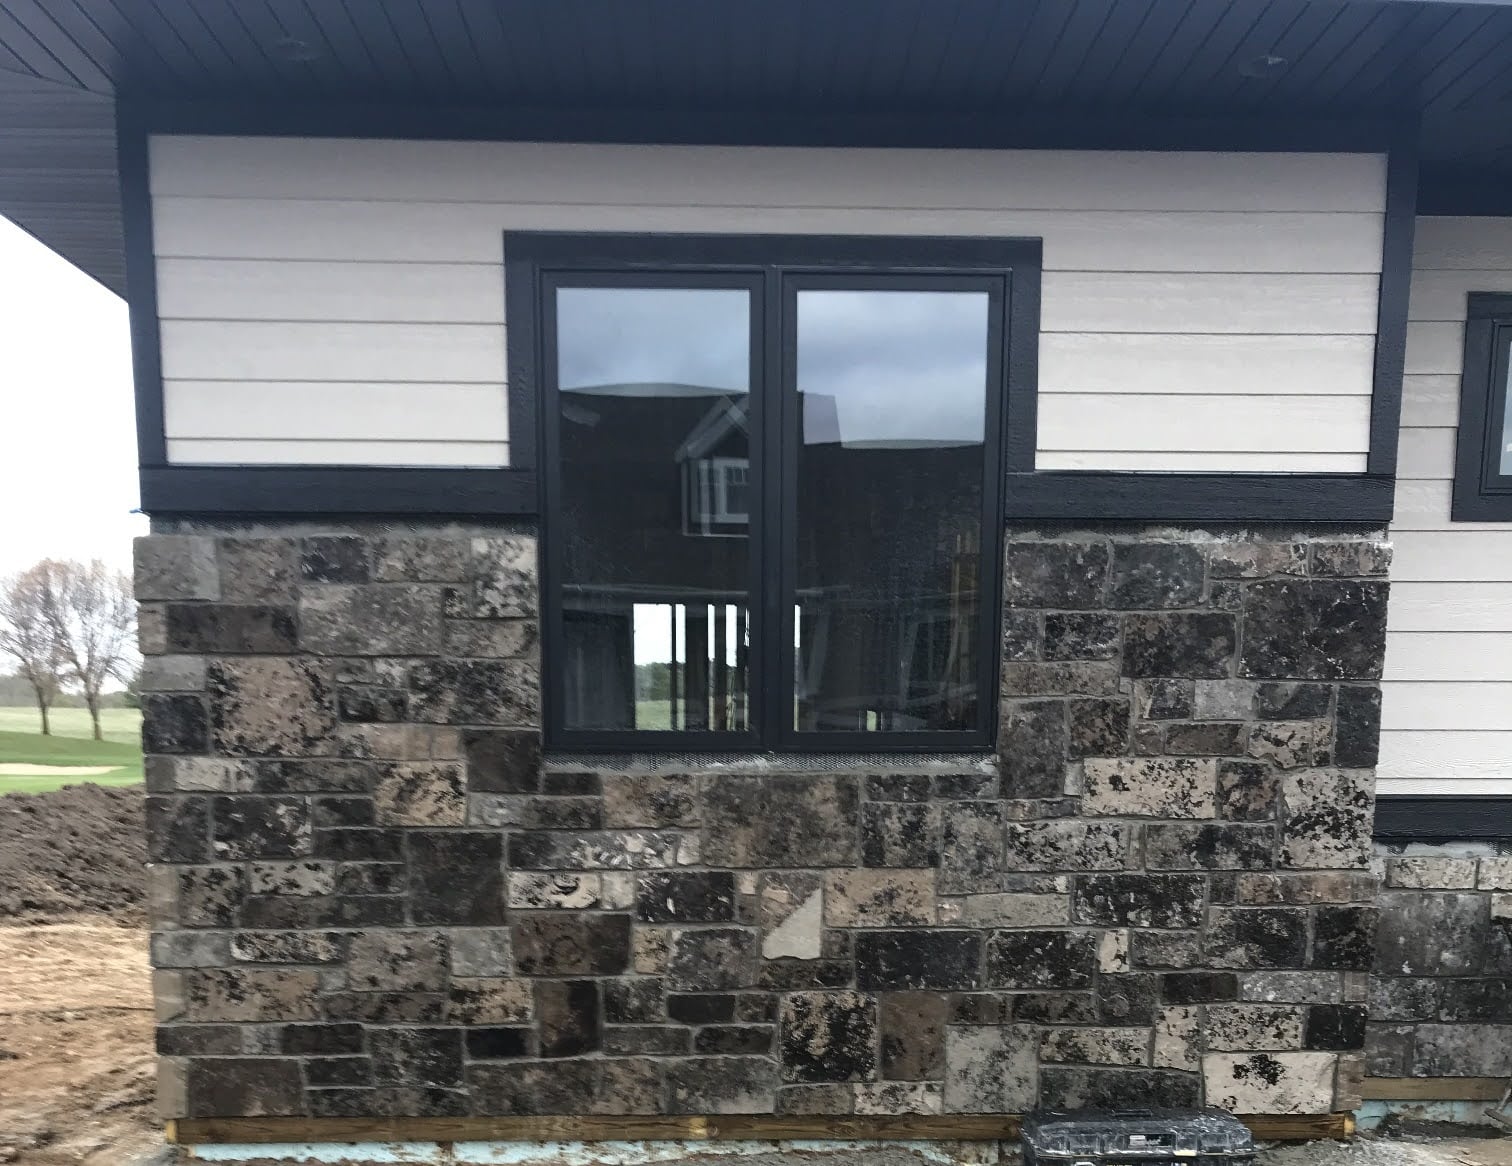 No seal
Wet seal
No seal
Wet seal
Conclusion
Understanding the basics of natural stone veneer installation helps bring your vision to life, determine which contractor is right for you, and ensures your project has a beautiful and lasting finish.
View our national masonry library
View our national masonry library of real stone veneer installers to find and compare local masons for your Quarry Mill natural stone veneer project.
Find a Mason